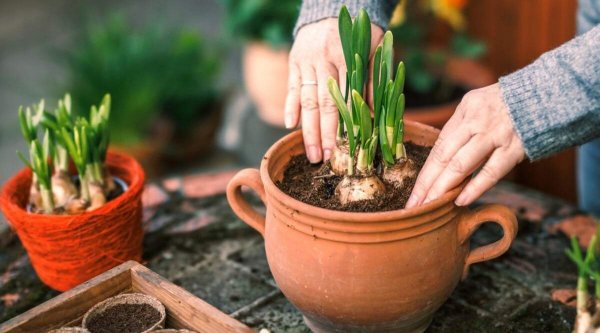
For gardeners counting down the days to spring, the winter months can feel endless. But there is a way to cheat the season: forcing bulbs indoors. By replicating the cold, damp conditions of winter and then introducing warmth and light, you can coax hyacinths, daffodils, tulips, and other spring favorites into bloom weeks or even months ahead of their outdoor schedule.
The process is straightforward, but it hinges on a few key steps—selecting the right bulbs, giving them the required chill period, and providing proper care after planting. Here’s how to turn a handful of dormant bulbs into a vibrant indoor garden.
Choosing Bulbs That Will Perform
Not all bulbs are created equal when it comes to indoor forcing. While most types can be grown inside if given the right conditions, some are more forgiving than others. Hyacinths, daffodils, tulips, crocus, and amaryllis are among the most reliable choices for indoor cultivation.
One of the first decisions is whether to choose bulbs that require a chilling period or those that don't. Warm-region species like paperwhites and amaryllis skip the cold treatment entirely, making them a quicker, lower-effort option. For bulbs that do need chilling, the duration varies by species and bloom time. Early spring bloomers like crocus typically need about eight to ten weeks of cold, while mid-spring daffodils require around 12 weeks, and late-spring tulips may need up to 15 weeks. After the chill, expect flowers to appear within roughly three weeks.
To ensure a continuous display, consider planting several varieties in separate containers and staggering their chilling periods. That way, as one batch fades, another is ready to take its place.
Signs of a Healthy Bulb
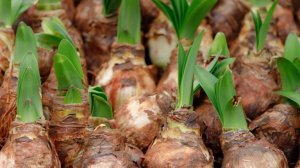
Before you commit to planting, inspect your bulbs carefully. A healthy bulb should feel firm to the touch, with no mushy or sunken spots. Avoid any that show signs of disease, such as discoloration, mold, or a soft texture. Shriveled bulbs are another red flag—they may have dried out and could struggle to grow. Size matters too: larger bulbs generally produce stronger plants with better flowers.
While you can take a chance on smaller or slightly shriveled bulbs, it's wise to discard any with pests or disease to prevent problems from spreading to other plants.
The Chilling Step
For bulbs that require it, chilling is the trigger that tells them it's time to prepare for flowering. The easiest method is to place them in a mesh bag in the refrigerator, which promotes airflow. Keep them away from ripening fruits, as the ethylene gas they emit can interfere with the bulbs' development. Alternatively, a cool basement or room with temperatures around 40°F works just as well.
You can also chill bulbs after planting them in pots, either in a cool room or outdoors if space allows. The key is maintaining consistent temperatures to control when the bulbs will bloom.
Planting and Aftercare
Once the chilling period is complete, it's time to plant. Choose containers deep enough for root growth and with drainage holes to prevent waterlogging, which can cause rot. For a single bulb, specialized bulb vases are an elegant option—they hold the bulb above the water line while roots grow down into the water.
Use a high-quality potting mix that retains moisture but drains well. Plant the bulb with the pointed side facing up, and follow the depth instructions on the packaging. In containers, bulbs can be placed closer together than they would be in the ground.
After planting, keep the pot in a dim area for about a week to help the bulb acclimate. Once green shoots appear, move it to a brighter spot with indirect light. Avoid harsh direct sun, which can shorten the life of the flowers. Water regularly to keep the soil slightly moist but not soggy, and monitor the water level in bulb vases.
One of the benefits of forcing is that bulbs come with their own nutrient supply, so fertilizing is unnecessary. Simply enjoy the blooms for three to four weeks.
Once flowering is over and the foliage begins to die back, remove the bulbs from the container. Forcing is taxing on the plants, so they are unlikely to bloom again next season. The best course is to compost them and start fresh with new bulbs the following year.
For those without outdoor space or who simply want to brighten their homes during the dark months, forced bulbs are a rewarding project. With a little planning, you can have a rotating display of spring color from mid-winter onward.